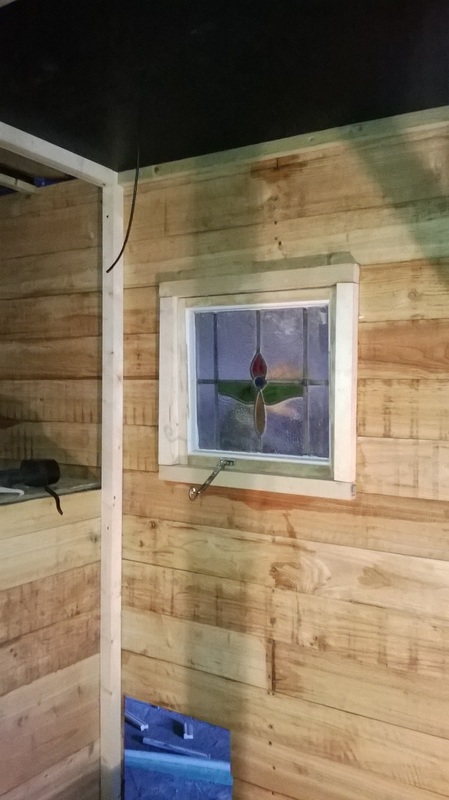
Firstly you need to see the luscious bathroom window, then we'll get to more important, but quite boring, stuff! It's really quite mind-numbing when you start planning what to do on the inside... everything revolves around and interacts with everything else, so before you cut any timber or fix any cable you have to look ahead mentally to what else is going to be in that area and whether what you're thinking of doing will actually work!
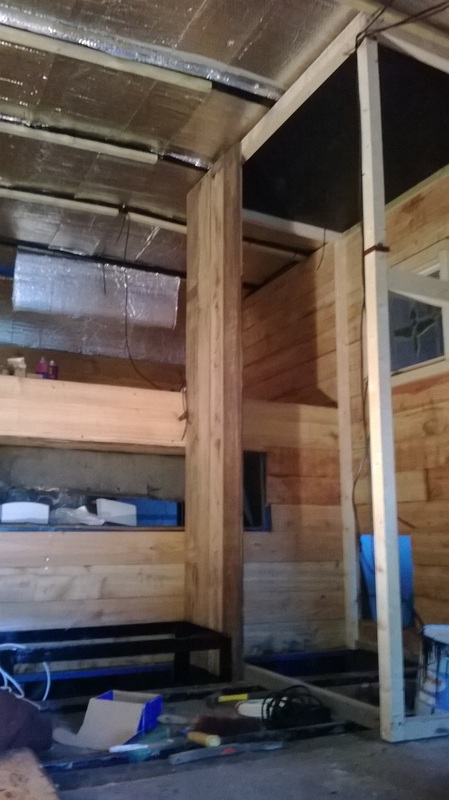
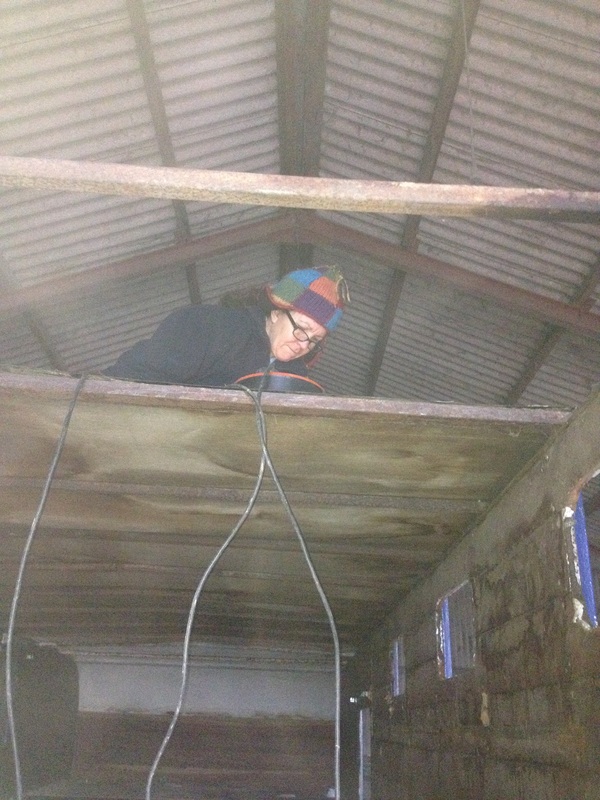
So after loads of wondering what to do first, we finally decided that we needed the bathroom wall to be in place before we did anything else as this was where all the electrical stuff is going - fuse boxes, MPPT etc. So up it went!
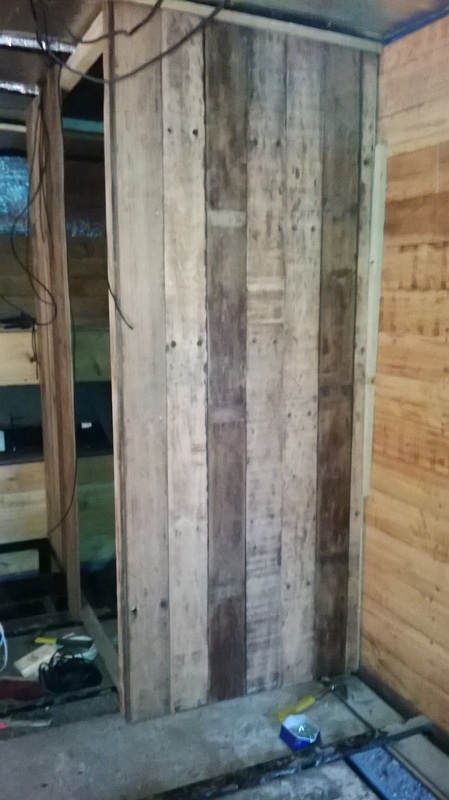
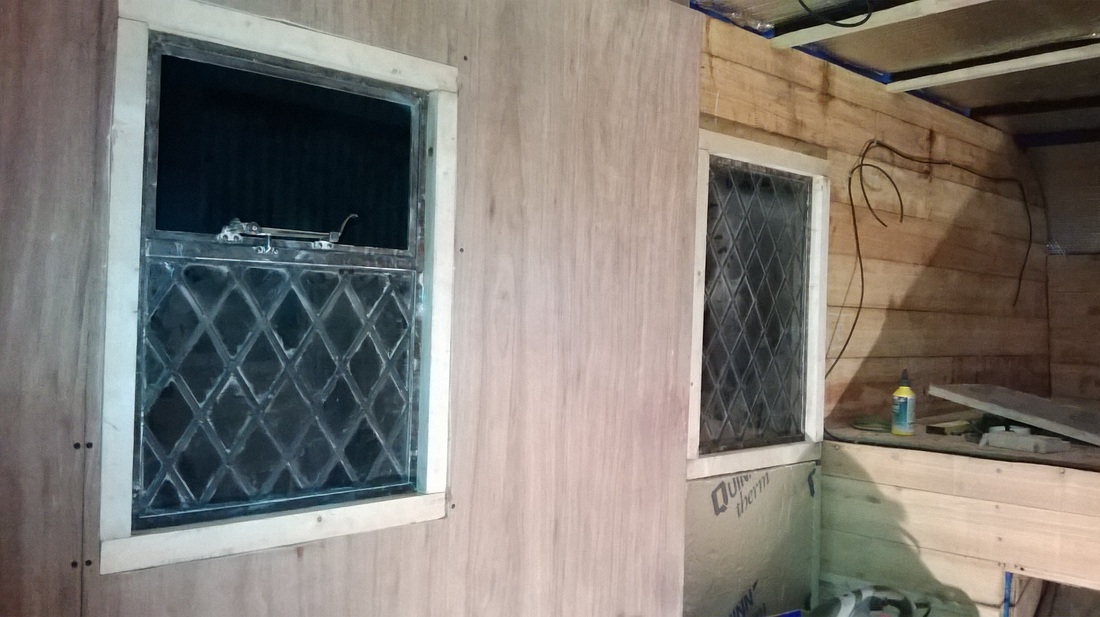
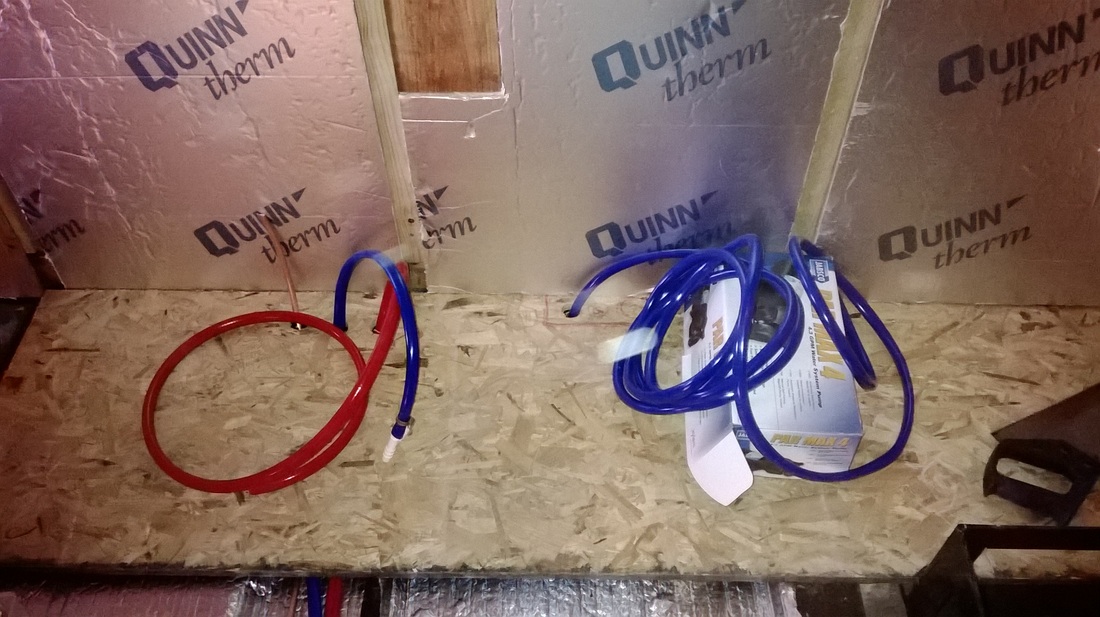
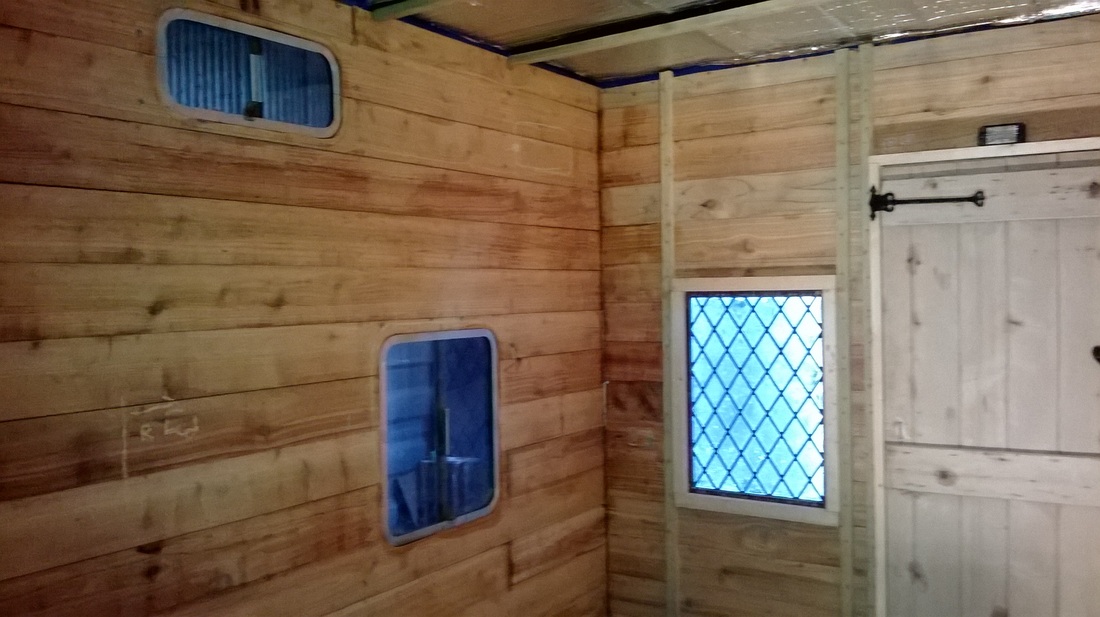
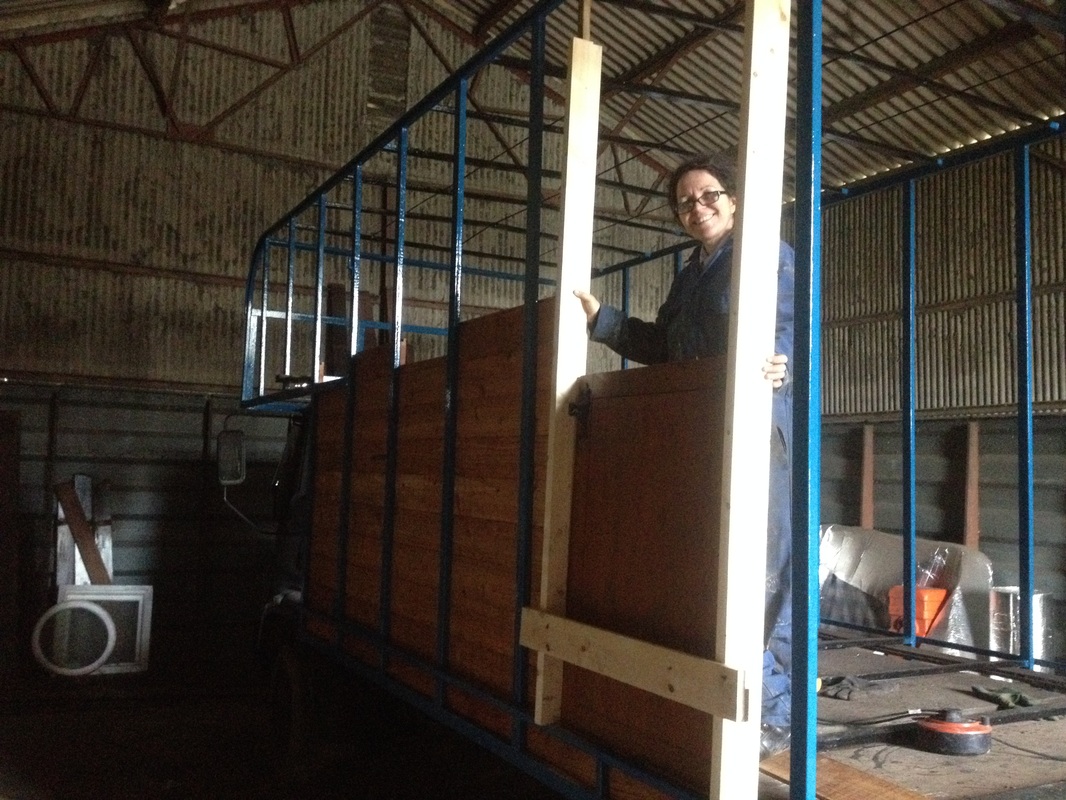
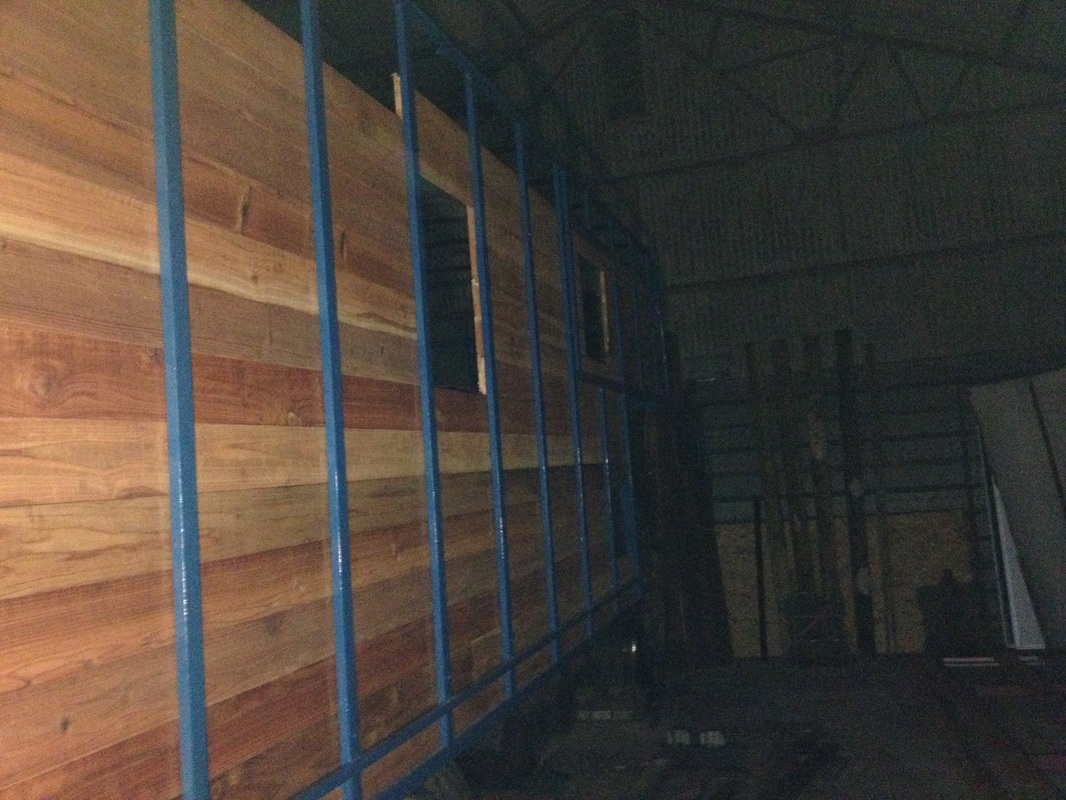
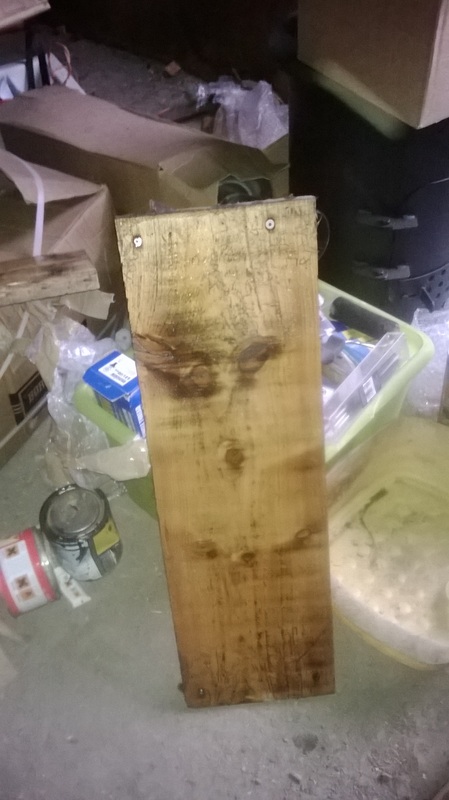
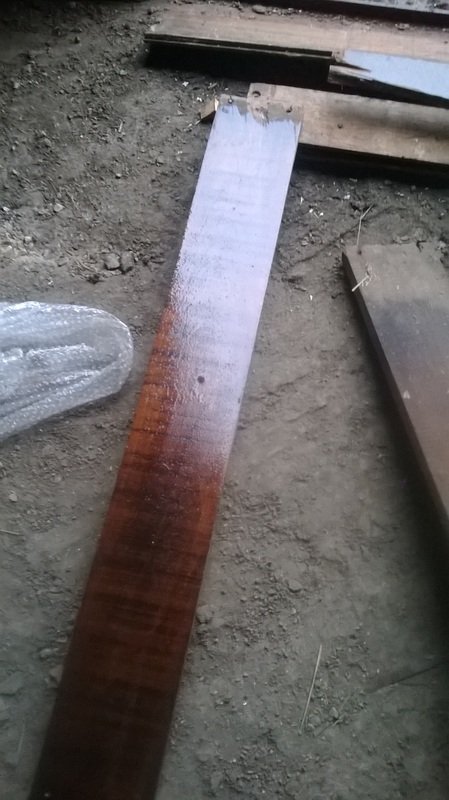
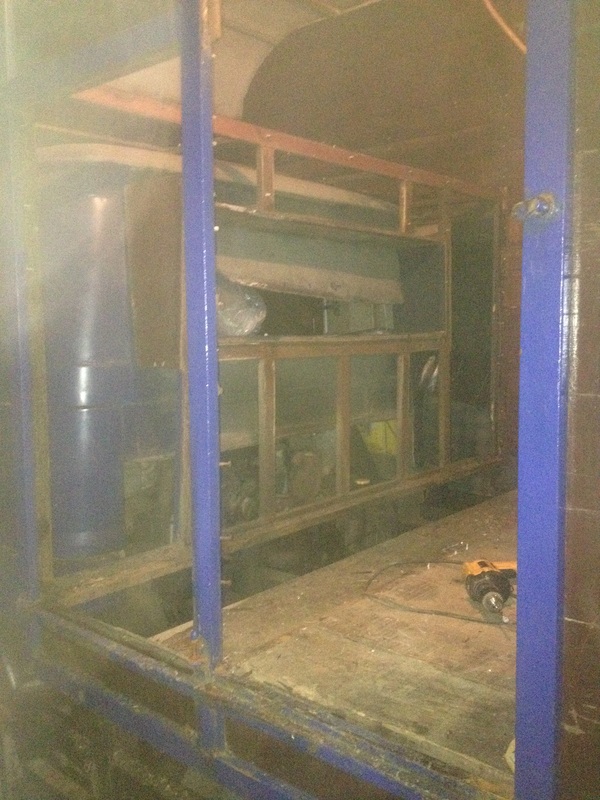
We're recycling the old timber from the cladding on the lorry, and it's turned out quite lovely after sanding it down... some Oak, some Teak, and possibly some Mahogany, which all looks gorgeous mixed up with all the old rivets and drill holes in it. Also started cladding the rest of the walls with Plywood, which is cheap, easy to manage, and also has lovely grain markings. This will be the kitchen. It did have these two wonderful diamond paned windows in... until a piece of the bathroom wall fell on one and knocked it out :-( So it's now at the window shop waiting for them to decide its fate - whether it will again be a leaded window, or if a cheaper plain glass will be all we can afford! Once the electric cables were in (I'm still far too traumatized by the complexities of working it all out to have taken any pictures!) the water and gas pipes were next. Far simpler than electrickery, they took no time at all to install!
Next step - the kitchen!
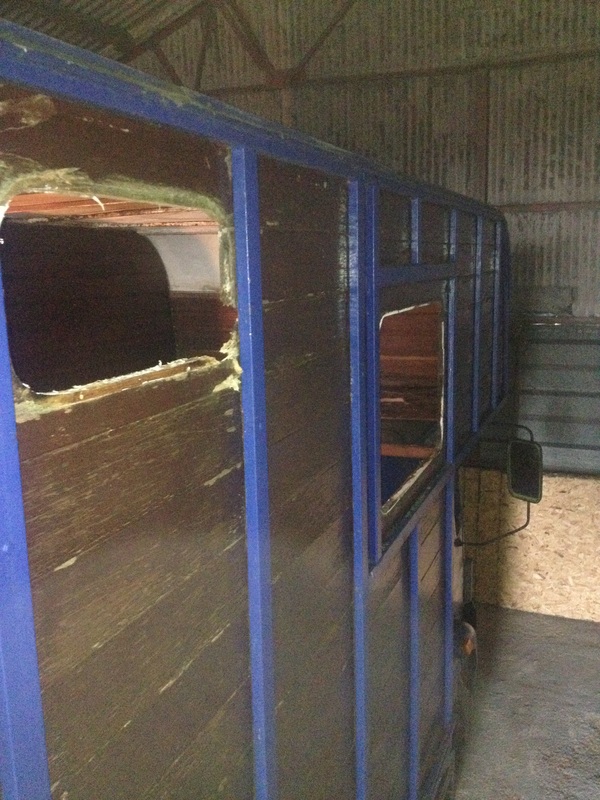
So the walls are finished, and we've moved on to putting in the windows. Quite a difficult task... some of the windows required us to leave bits out of the walls where they would fit as we went along, while others we had to cut out once the walls were complete. Above will be the bathroom window, with the door to empty the toilet (yummy) below it. (You might also just be able to see above a first glimpse of the cab colour!) First window in, and rather gorgeous it is too, but I'm not looking forward to cleaning all those tiny panes... Back door, stolen off one of the kids' rooms! And the horsebox windows we are reusing, which had to have the holes cut for them... Scary!
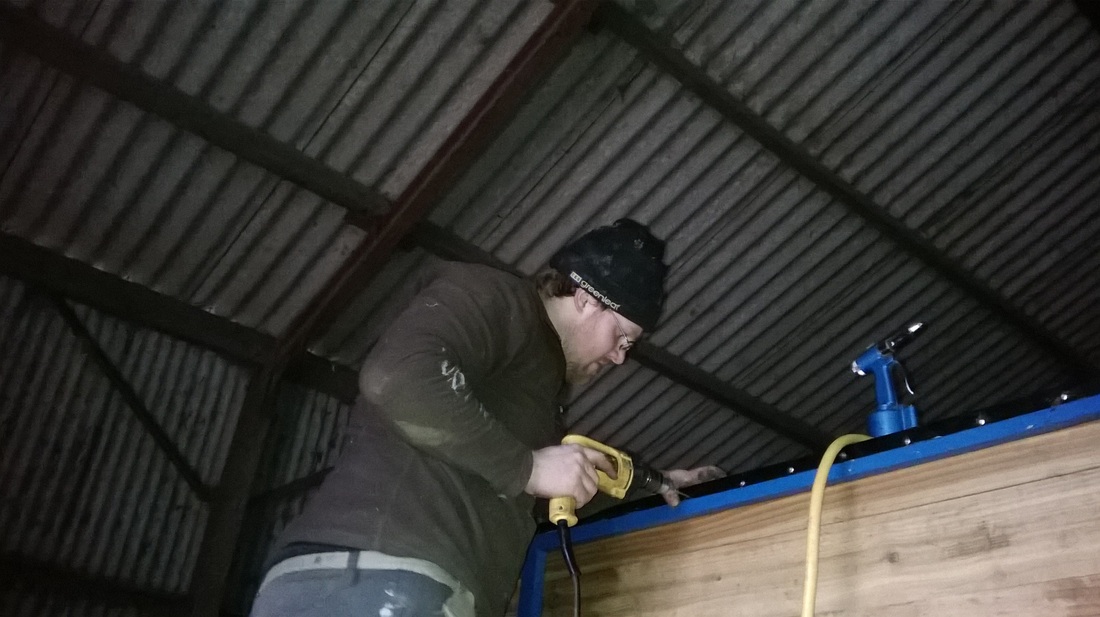
In between all this the roof has also gone back on (easier said than done!) with about a million rivets and at least a thousand tubes of silicone holding it on!
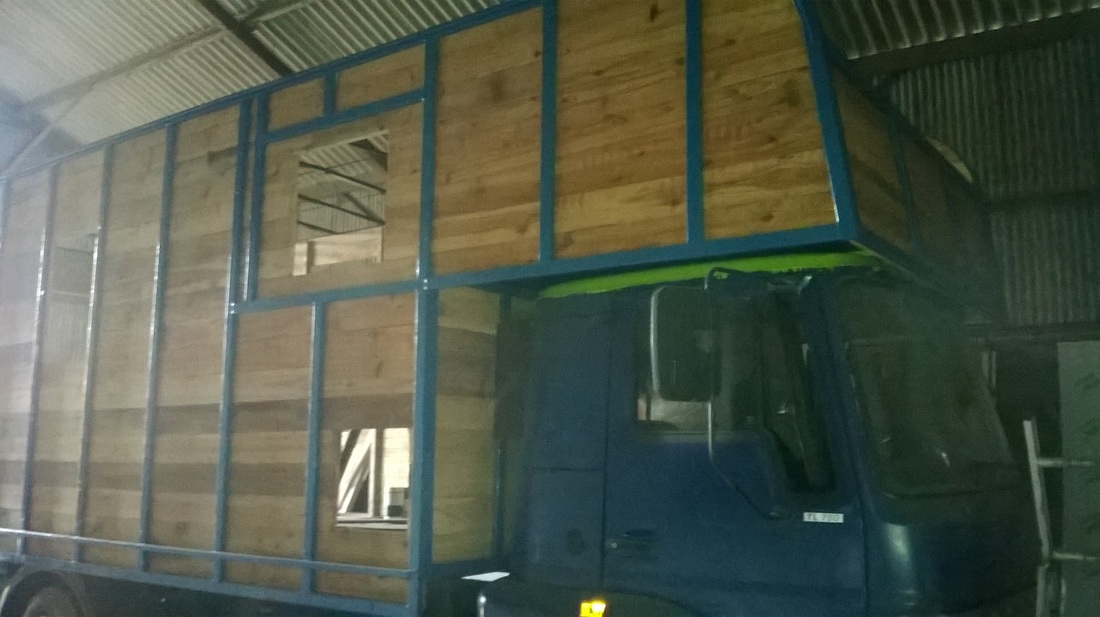
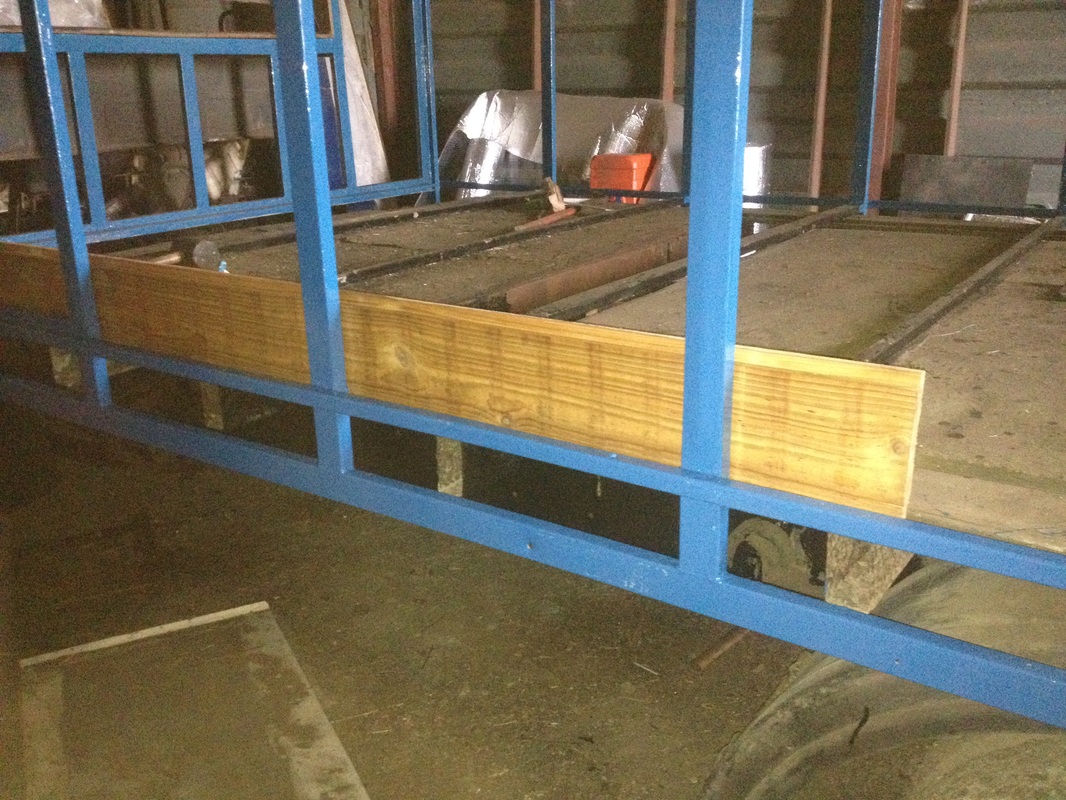
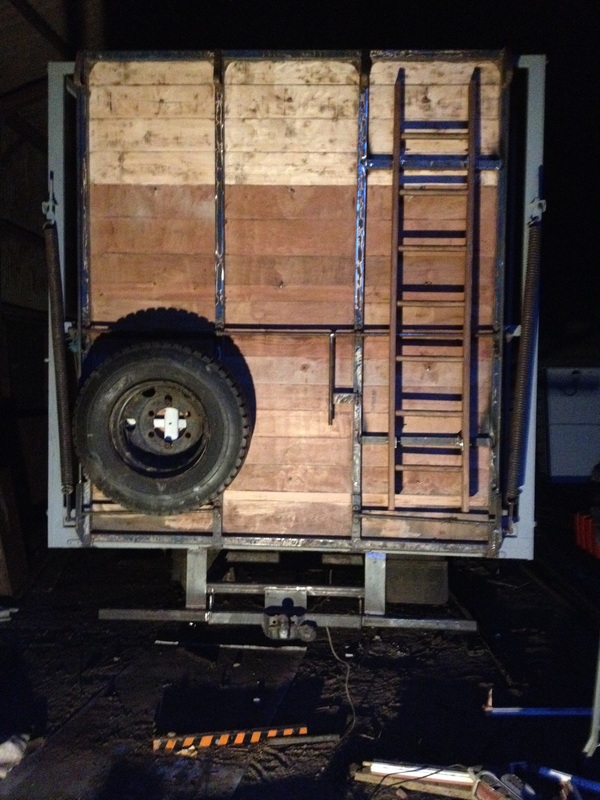
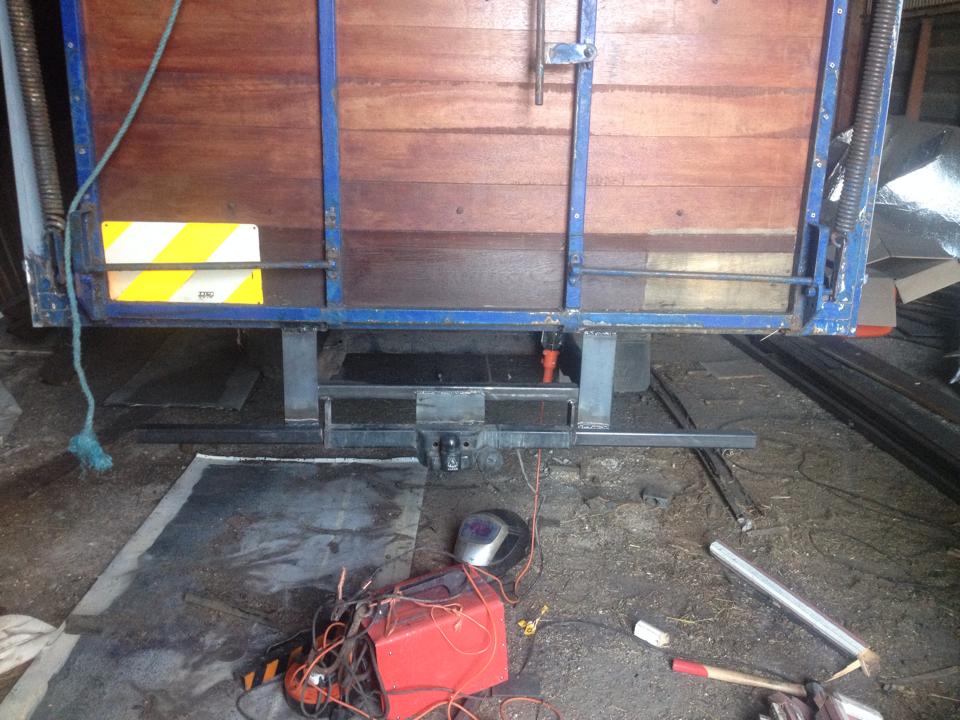
Finally started to get the boards on the frame, and now it's beginning to look something like it should rather than some vast skeletal beast! We began planking it the week before last, but then Tom went back to work so it kind of went on hold until today, when we made fantastic progress! Tom's also been busy at the back end while I finished off the paintwork, adding a spare wheel bracket and attaching the funky ladder, which is there so that we can get up onto the rood to get the bigger ladder... which makes sense to us so there! Hopefully by Wednesday we should have the boarding finished, then we can get started on the roof!
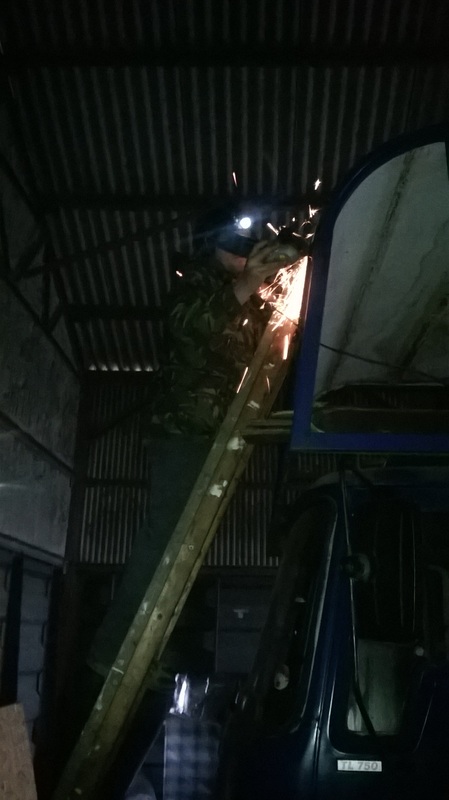
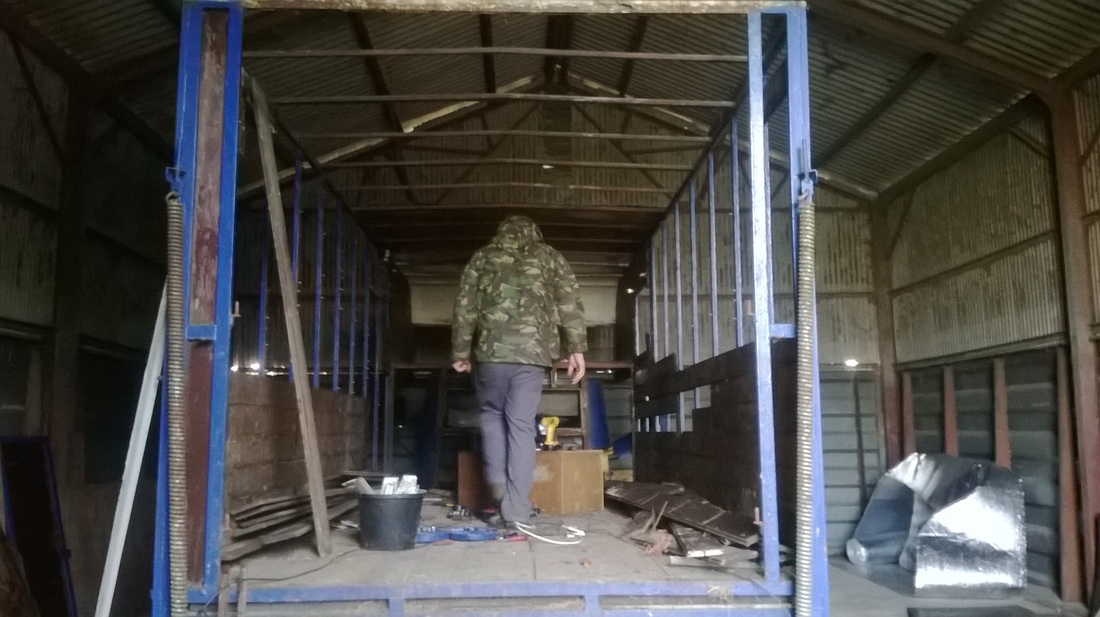
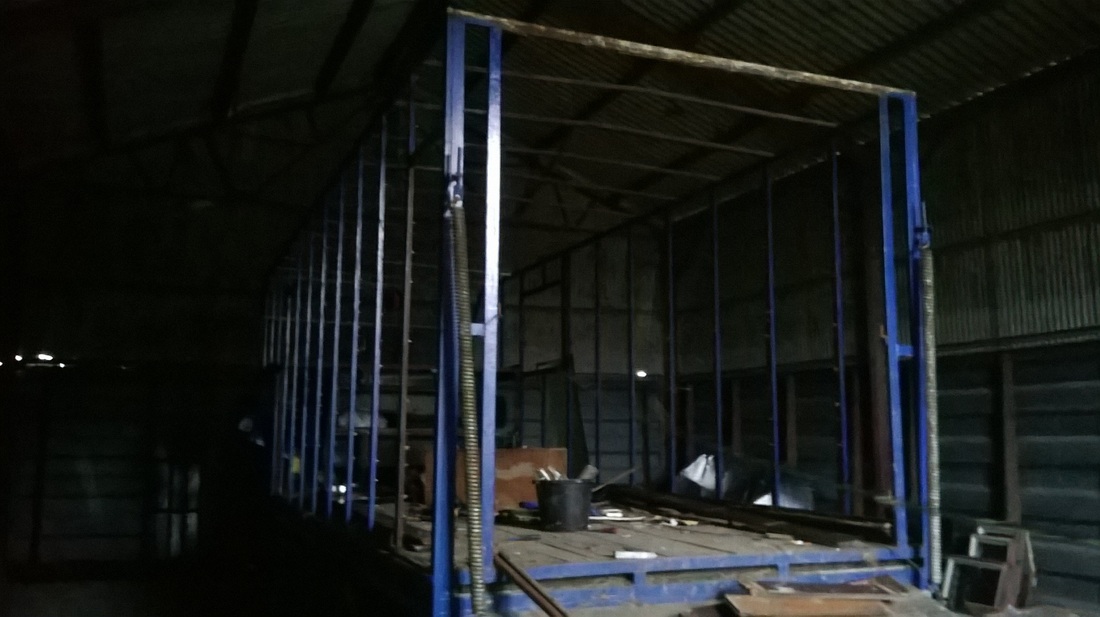
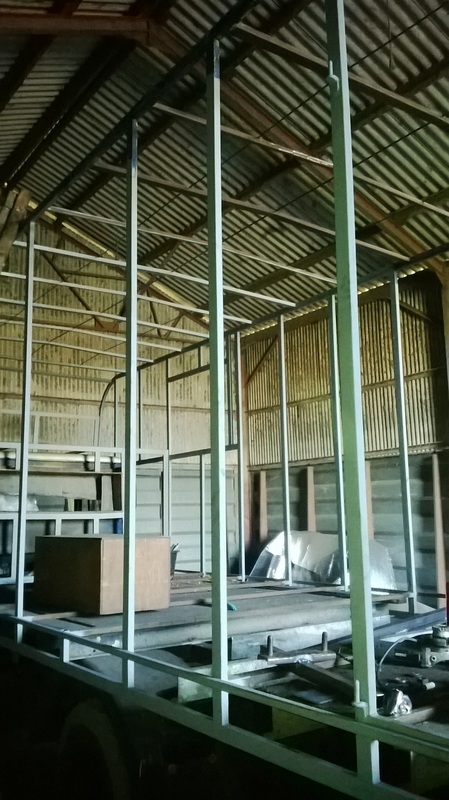
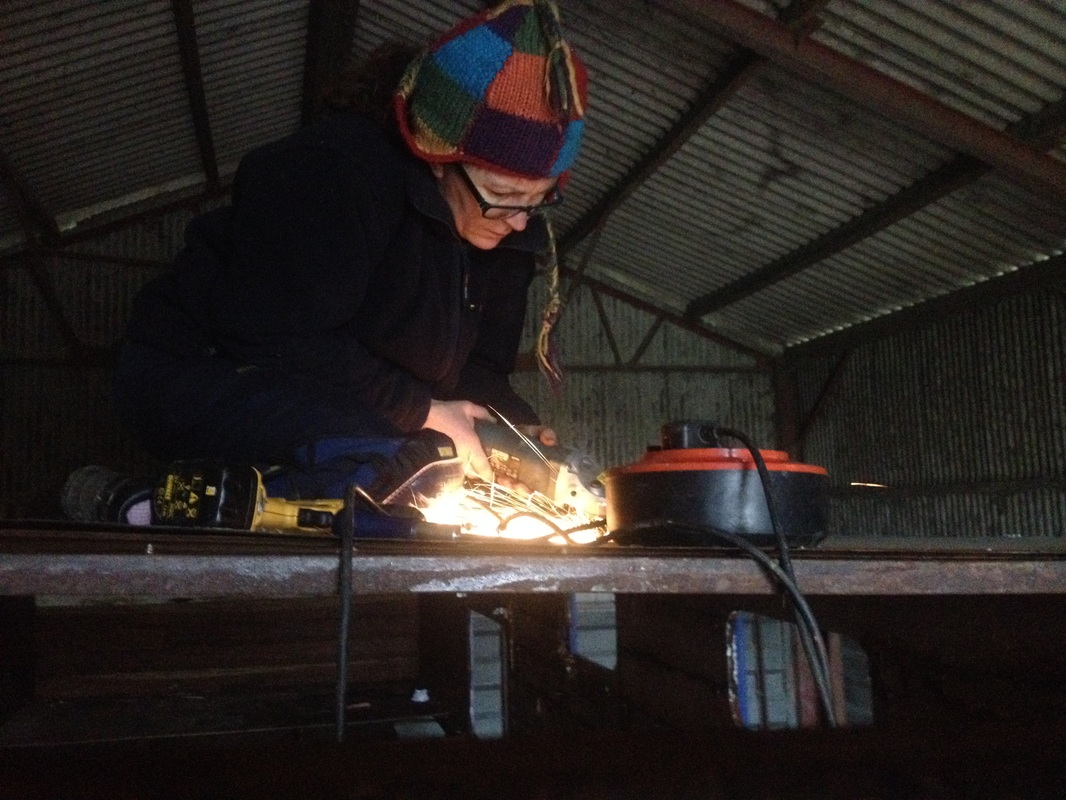
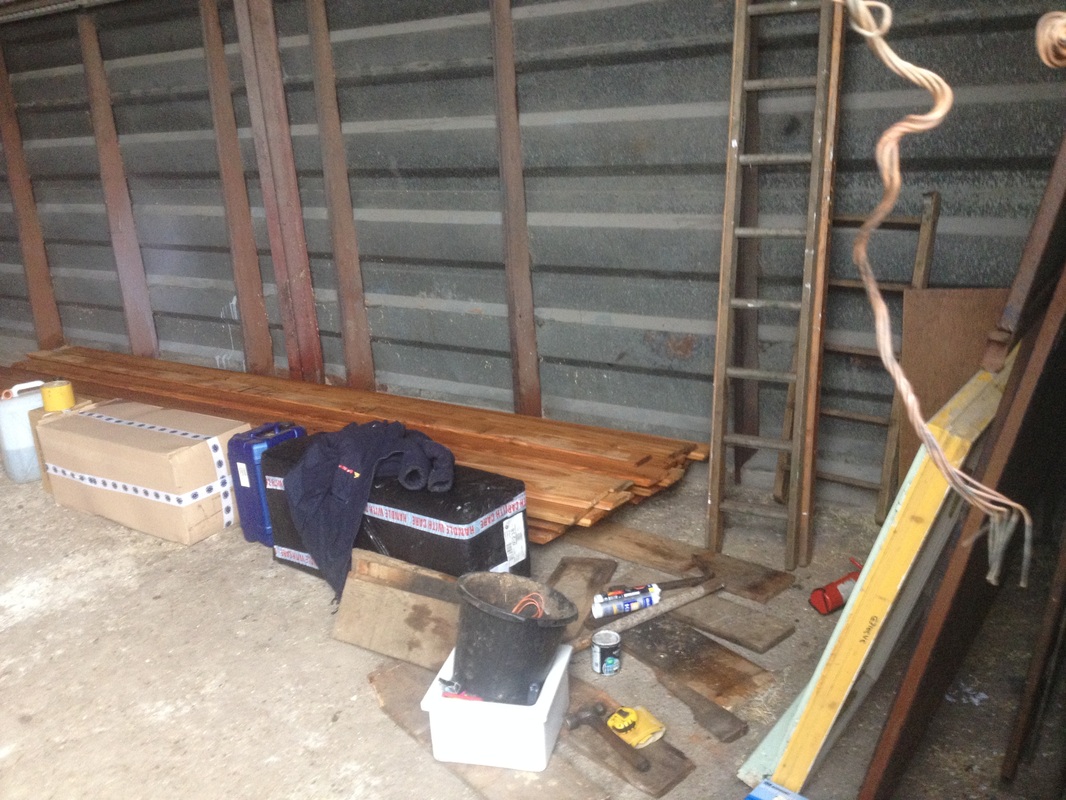
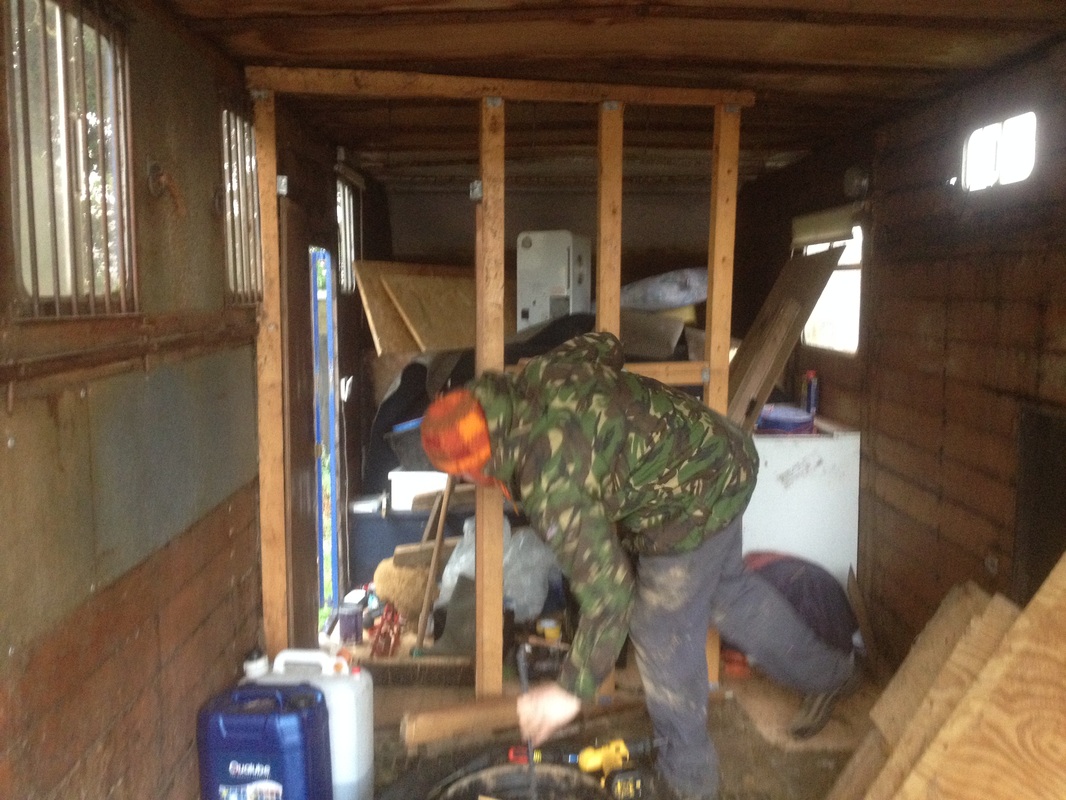
So after having a whole week (scandalous!) off for Christmas, we started again last week on the lorry in earnest. The weather's been pretty rubbish, so we can't state enough how thanklful we are to have been able to borrow the shed. Without it there's no way we would have got on as well as we have up until now. We've done really well this last week - got all the walls off, the floor up, and Tom wire-brushed all the metalwork ready to start painting. This first bit has been pretty tough - preparation always takes the longest and is the most tedious, but it has to be done. and we're now at the point where we can start making Mooncat look pretty again! While Tom's been doing manly stuff like chopping bits of steel out, welding, grinding, making tow bars, all that sort of thing, I've been painting the frame and sanding floorboards. Discovered a mix of (we think) Oak and possibly Teak or some foriegn equivalent, which will look gorgeous when it's been polished and waxed. While we've been working we've also had time to think about some problem-solving and tweaks which we want to do before we start putting her back together. Several pieces of the metal frame have had to come out to make way for structural stuff that we need, such as a partition wall between the living area and horse box, and a pull-out front 'porch'. What with these and the tow bar Tom has managed to keep himself out of trouble ;)
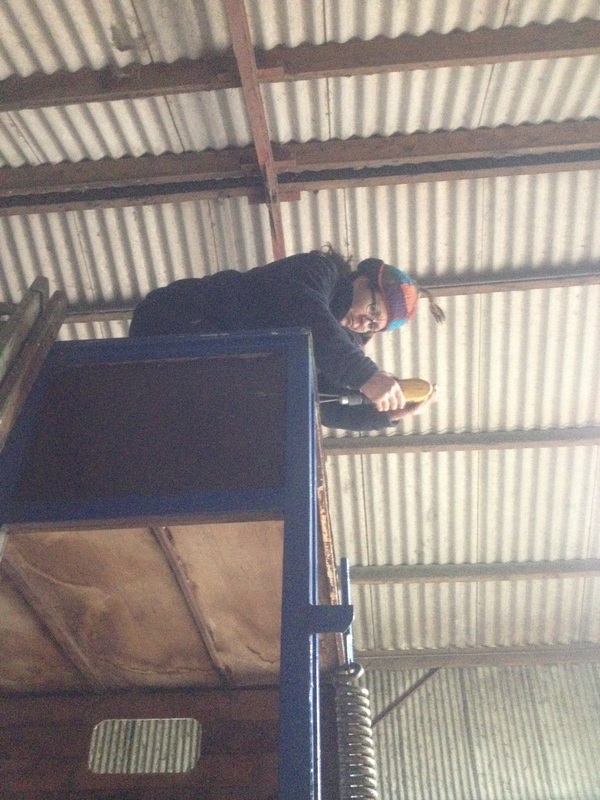
First job is getting the roof off to paint it and reseal it. Most of it was riveted on, but there were some screws too, which weren't the easiest things to move! At one point we had to get tough, and being the only one up on the roof at that time I got the job of being manly with a grinder! Got there in the end though. Meanwhile we started taking the cladding off and taking the windows out. As we might be using some of the windows again, at least in the back for the horses, we had to get them out intact, and as someone had used about a gallon of sealant it was a bit tricky. We saved them all though, and put them with the very lovely leaded ones we got from a friend of ours in Gloucester, ready to clean up and put back in. We're saving all the metal work from the horse box walls to hopefully reuse in the caravan we're doing up for my daughter, so that all needed to come off before we ripped the walls down. Most of it cooperated, but a few screws needed to be persuaded with the grinder.
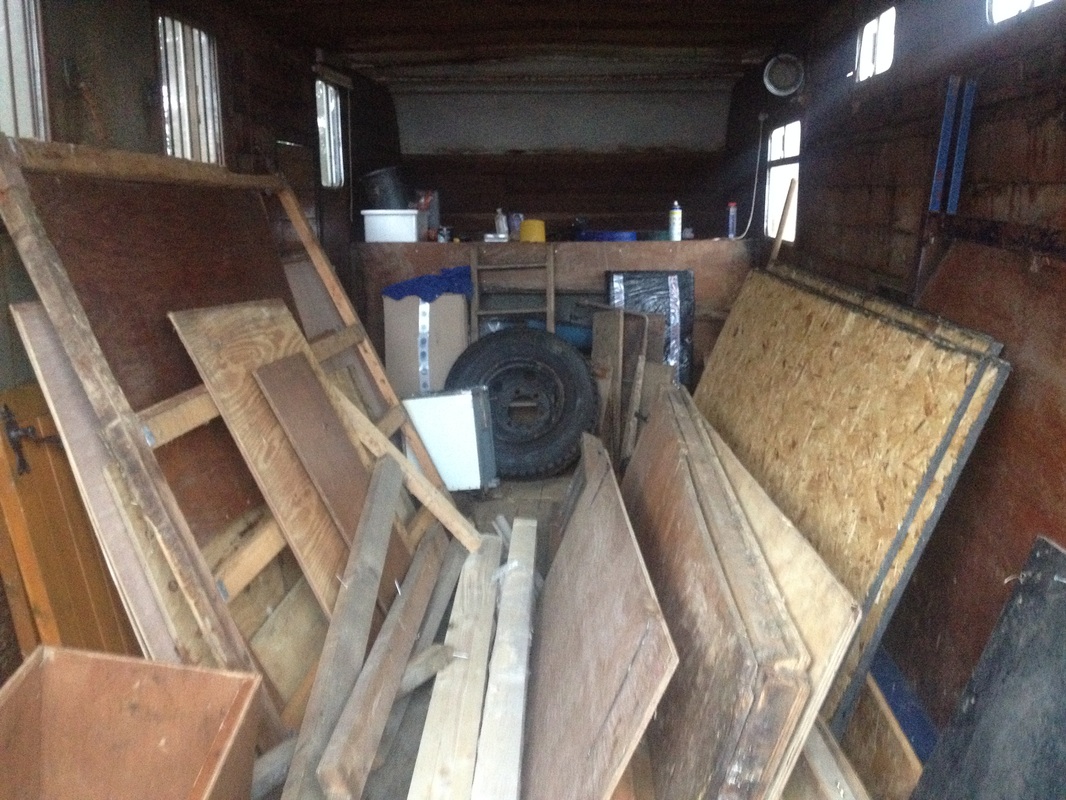
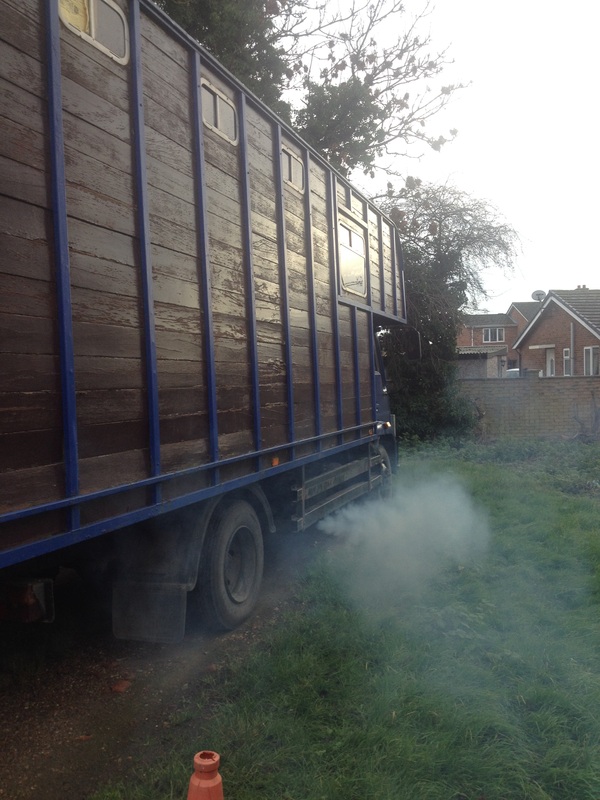
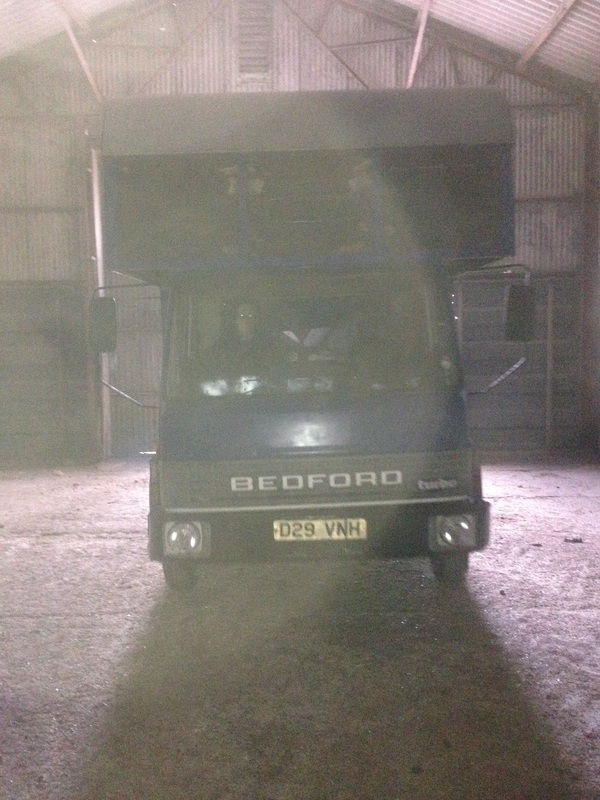
So we finally managed to get Mooncat under cover today - a friendly local farmer (very rare in these parts!) has very kindly agreed to let us use his grain shed over the Winter, so we can totally strip the body down and start again. All packed up and ready to go! Started first time after standing for two months! In the shed! Loads of room for all the stuff, including the gorgeous Cedar we've got to clad the sides.
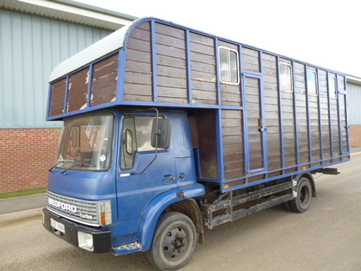
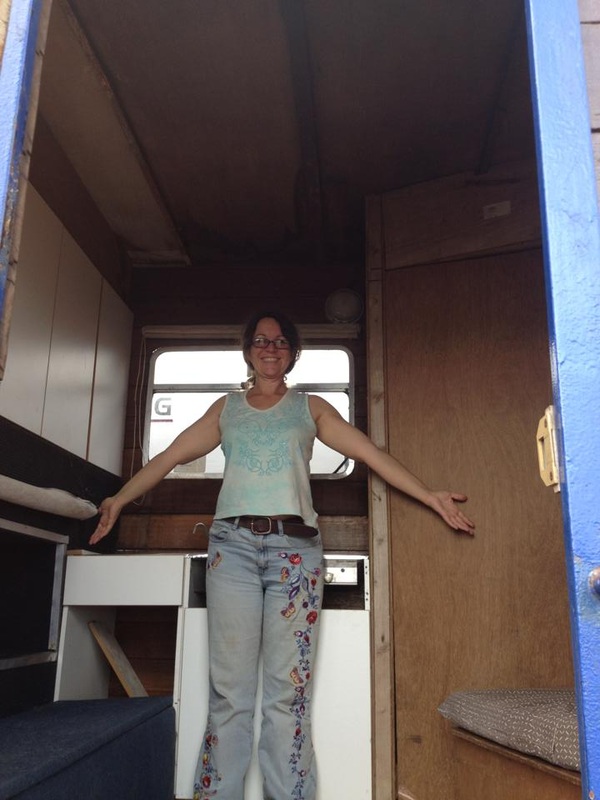
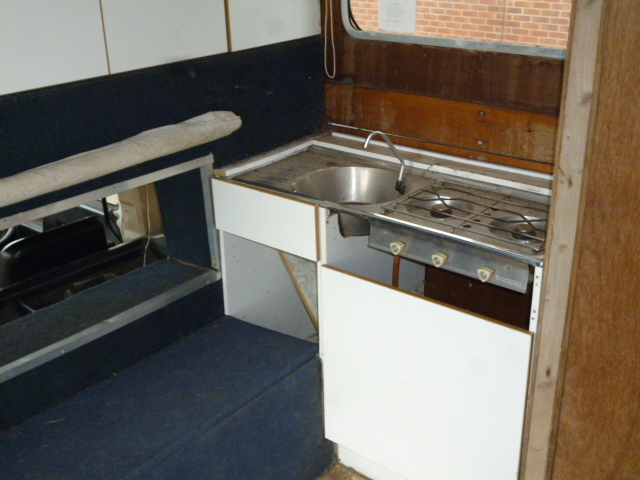
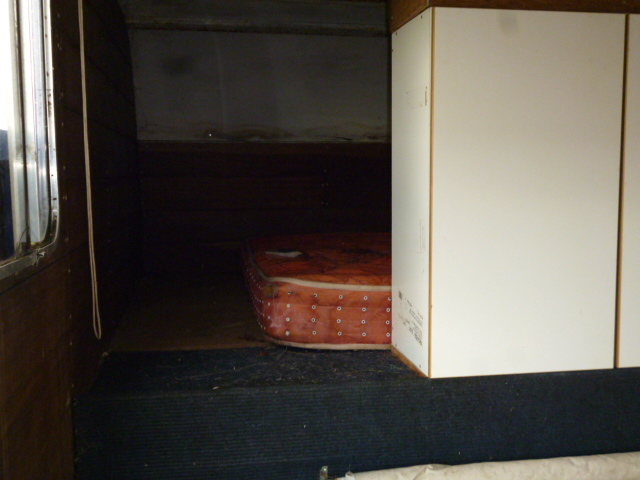
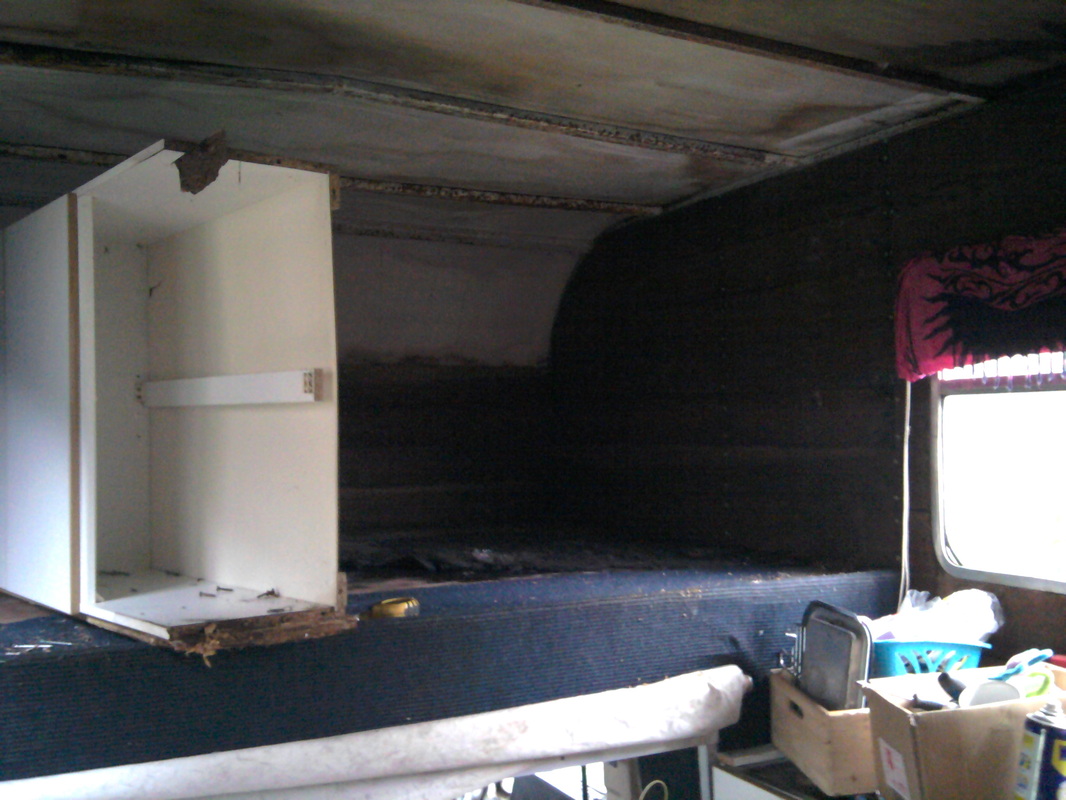
Here she is... our beautiful Bedford TL, Mooncat. She's a 7.5 tonne long wheel base horse box with room for three horses and a very small pony, full living and the most enormous luton ever! She was an ebay find, bought entirely because of the wooden body. Turns out most of the timber is rotten and needs replacing, but she runs well and is basically solid. We went through various thought processes before we started... sand blasting the timber, making do 'for now', etc, but we soon came to the conclusion that the only way to do this properly, and to make sure she lasted, we were going to have to completely strip Mooncat down and replace all the exterior timber, apart from the back ramp which had previously been replaced, and the sides of the Luton, which looked pretty sound. When we bought her, the living was fairly basic, but usable, the huge Luton had kitchen cupboards along the front, leaving the bed area very dark and damp where the roof had leaked. The first thing we did was to rip these cupboards out, and immediately the space seemed to double in size. The boarding on the bottom of the Luton was soaked through though, and the whole thing, along with the bulkhead behind the cab, would need replacing. After that we moved on to the rest of the kitchen, the toilet, and the walls through to the back.
|

 RSS Feed